Spinal Cord Injury and Its Orthotic Management
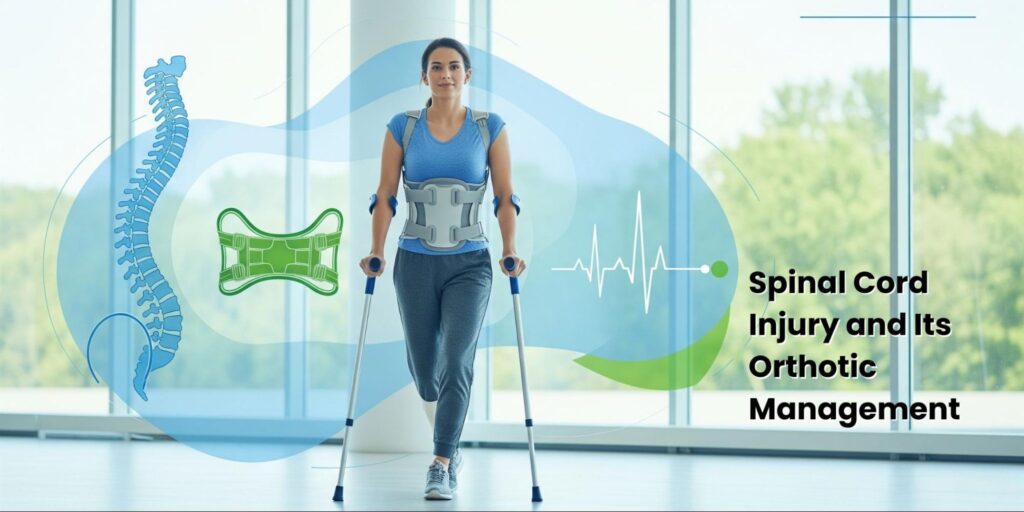
Spinal Cord Injury and Its Orthotic Management Spinal Cord Injury (SCI) is a life-changing condition that affects not only mobility but also independence, daily activities, and overall quality of life. It results from damage to the spinal neural elements, leading to varying degrees of motor and sensory impairment. While medical management focuses on stabilization and prevention of further injury, orthotic management and rehabilitation play an equally critical role in restoring function, preventing complications, and maximizing independence. In this blog, we explore SCI, its assessment, and the vital role of orthotic interventions in upper limb management and rehabilitation. Understanding Spinal Cord Injury (SCI) SCI occurs when the spinal cord is damaged due to trauma or disease, thereby disrupting the communication between the brain and the body. Who is affected? About 80% of SCI cases occur in males, with young adults being most at risk. Leading causes include: Vehicle crashes Falls Violence (such as gunshots) Sports-related injuries Types of injury: Tetraplegia (59%) – paralysis affecting all four limbs and torso Paraplegia (41%) – paralysis of the lower half of the body Rehabilitation Goals: Maximize independence in daily activities Prevent secondary complications such as contractures and pressure sores Improve efficiency and ease of movement Neurological Assessment in SCI An accurate assessment helps clinicians determine the level and extent of injury. Dermatome Each spinal nerve root supplies sensation to a specific skin area. There are: 8 cervical dermatomes (C1 has no dermatome) 12 thoracic 5 lumbar 5 sacral Testing involves pinprick (sharp/blunt) and light touch (cotton wool) to compare sensations on both sides. Myotome Groups of muscles are innervated by a single spinal nerve root. Muscle testing helps identify preserved motor function. This structured neurological evaluation helps clinicians define the level of lesion and plan appropriate orthotic intervention. Orthotic Management in SCI Orthotic devices are designed to support weak muscles, prevent deformities, and restore some degree of functional independence. Their role is especially crucial in upper limb management for individuals with tetraplegia. Upper Extremity Management in Acute Tetraplegia Rehabilitation begins early with splinting and positioning. Goals of splinting: Immobilization and joint protection Prevention of contractures and deformities Pain relief and muscle support Improvement of function in daily tasks Common Splints: Resting hand splint: Wrist at 20° extension, MCP joints slightly flexed Wrist extension splint Tenodesis splint: Uses natural tendon tension to enable grasp (wrist extension leads to passive finger flexion) Additionally, a range of motion (ROM) exercises and proper positioning are critical during early rehabilitation. High Tetraplegia (C1–C4): Orthotic & Assistive Support Patients with high cervical injuries require specialized support. Goals: Prevent deformities Protect insensate areas Reduce edema Maintain hand flexibility Splints: Resting hand splints Opponens splints Wrist extension splints Assistive Technology: Wilmington Robotic Exoskeleton (WREX): Wheelchair-mounted device using elastic elements and power assistance to enable arm movement against gravity Feeding aids: Winsford Feeder – chin-controlled mechanical feeding device Meal Buddy – robotic feeding system with programmable functions and portability Robotic Arms & Neuroprosthetics Modern rehabilitation combines orthotics with robotics to restore independence. JACO Arm (Kinova Robotics): A wheelchair-mounted robotic arm with a 2- or 3-fingered hand, joystick-controlled for intuitive use iARM (Exact Dynamics): Seven-joint robotic arm powered by the wheelchair battery, controlled by joystick or keypad MyoPro Orthosis: FDA-approved robotic arm orthosis that uses surface EMG signals to trigger powered assistance in partially paralyzed arms These innovations empower individuals with tetraplegia to perform daily tasks more independently. Low-Tech Aids for Mid-Cervical Tetraplegia Simple devices remain vital for daily function. Key considerations: Easy to don Lightweight and low-profile Cosmetically acceptable Common orthosis: Resting hand splints Dorsal wrist splints Long & short Opponens splints Universal Cuff (with/without wrist support) enables essential tasks. Other aids: Writing splints, cup holders, and button hooks to promote independence. Functional Electrical Stimulation (FES) & Neuroprosthetics Neuroprosthetics use electrical stimulation to restore hand and arm function. H200 Wireless (Bioness): Commercially available upper limb neuroprosthetics using surface stimulation for grasp and release Freehand System: FDA-approved 8-channel device that restores hand function through FES Bionic Glove: Stimulates finger flexors and extensors, enabling grasp Advanced Systems: ETHZ-Para Care and Stimulus Router Systems provide innovative, though not widely available, solutions for grasp restoration Mobile Arm Supports (MAS) MASs are mechanical devices that assist arm and forearm movement, particularly useful for feeding and table tasks. Examples: Rancho MAS (Golden Arm): Early design for polio patients, later adapted for SCI Feeding aids like Stand Feeder and C-Clamp Feeder By reducing reliance on shoulder and elbow strength, MASs promote independence in daily living. Tenodesis Orthosis (C6–C7 SCI) For patients with partial hand function. C6 Level: Elbow flexion and wrist extension preserved C7 Level: Adds elbow extension Wrist-driven orthosis (tenodesis splint): Uses active wrist extension to create passive finger flexion Enables functional grasp (thumb, index, middle fingers) Critical for restoring independence in self-care activities Dynamic Splints for Hypertonicity In cases of increased muscle tone: Saebo Stretch: Adjustable splint that allows safe stretching during muscle spasms and maintains ROM Dynasplint System: Provides low-load, prolonged stretching at the end range of motion to gradually improve flexibility Low Cervical SCI (C8–T1): Orthotic Goals The main objective is to preserve natural hand function and prevent deformities caused by muscle imbalance. Functional Splints: Prevent intrinsic minus posture and wrist flexion Universal Cuff: Allows patients without grasp to hold utensils or grooming tools The Road Ahead: Innovation in Orthotic Management With advances in robotics, neuroprosthetics, and FES, the future of SCI management is increasingly focused on restoring function rather than merely compensating for loss. Orthotic devices are evolving from static supports into dynamic, intelligent systems that integrate with user intent. The ultimate goal is not only physical rehabilitation but also social reintegration, independence, and improved quality of life. Empowering Lives Through Orthotic Management in Spinal Cord Injury Spinal Cord Injury is a challenging condition, but with the right blend of medical care, orthotic support, and assistive technologies, individuals can regain meaningful function and independence. From traditional splints to cutting-edge robotic arms and neuroprosthetics, orthotic management continues to transform lives by bridging the gap between
What Are 3D-Printed Prosthetics and How Do They Work
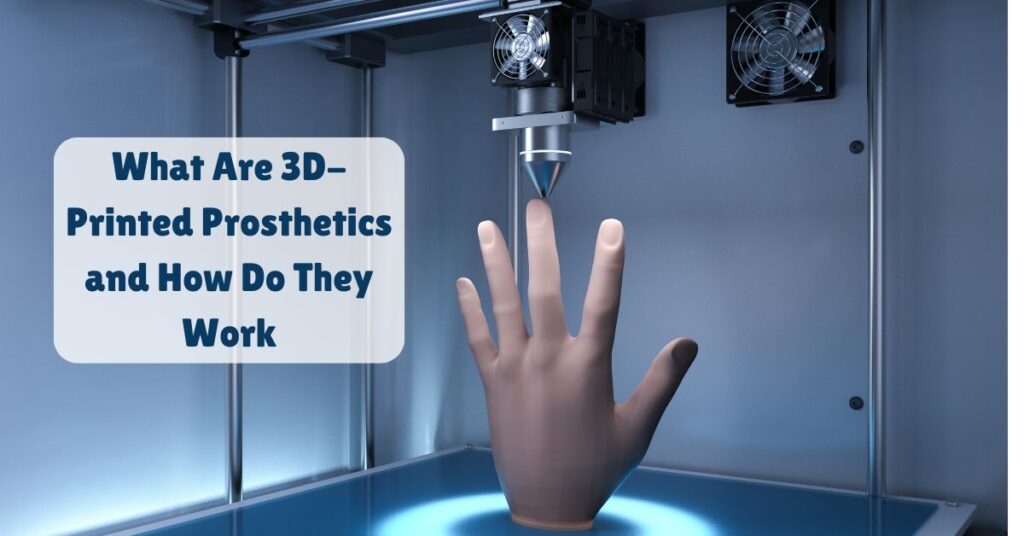
What Are 3D-Printed Prosthetics and How Do They Work Imagine losing a limb and being told that a replacement could cost thousands of dollars and take months to manufacture. Now, imagine an alternative—one where a custom-made prosthetic is designed, printed, and ready to use in just a few days at a fraction of the cost. This is the power of 3D-printed prosthetics. 3D printing technology is transforming the world of prosthetics by making artificial limbs more accessible, affordable, and personalized than ever before. These prosthetics are not just functional; they are designed to fit the unique needs of each user, whether it’s a child who needs a lightweight limb or an athlete looking for high-performance support. But how exactly do 3D-printed prosthetics work, and what makes them different from traditional ones? Let’s dive in and explore the process behind this groundbreaking innovation. The History of 3D-Printed Prosthetics The journey of 3D-printed prosthetics began with early efforts in the 1990s when scientists and medical professionals started experimenting with 3D printing for medical applications. During this period, researchers successfully created 3D-printed dental implants and even began exploring the possibility of printing human organs. However, the idea of using 3D printing for prosthetic limbs was still in its infancy. A major breakthrough came in 2011 when American artist and inventor Ivan Owen played an important role in developing one of the first functional 3D-printed prosthetic hands. Owen initially gained attention for designing a mechanical hand for a steampunk convention, sharing his process in an online video. This caught the interest of a carpenter who had lost his fingers in an accident, leading to a collaborative effort to create a functional mechanical hand. As word spread, a mother of a young boy in need of a prosthetic hand reached out to Owen, hoping for an affordable solution. At that time, traditional prosthetics were expensive and difficult for children, who quickly outgrew them. Realizing the potential of 3D printing, Owen partnered with a 3D printing company to develop a low-cost, scalable prosthetic hand. This marked the creation of one of the first fully functional 3D-printed prosthetic hands, offering an innovative and accessible solution for those in need. The success of this project laid the foundation for further advancements in 3D-printed prosthetics, inspiring organizations and researchers worldwide to develop more sophisticated designs. What Are 3D-Printed Prosthetics? 3D-printed prosthetics are artificial limbs or body parts created using 3D printing technology. Unlike traditional prosthetics, which are often expensive and take weeks or months to manufacture, 3D-printed prosthetics can be produced quickly and at a fraction of the cost. These prosthetics are designed digitally and then printed layer by layer using materials like plastic, resin, or even metal. They can be customized to fit the user perfectly, making them a game-changer for people who need affordable and functional prosthetic limbs. Why 3D Printing for Prosthetics? Affordability – Traditional prosthetics can cost thousands of dollars, while 3D-printed alternatives are much cheaper. Customization – Each prosthetic can be tailored to an individual’s unique anatomy. Speed – Manufacturing is significantly faster compared to conventional prosthetics. Accessibility – 3D printing has enabled prosthetic creation in remote or underserved areas where traditional options may not be available. How Are 3D-Printed Prosthetics Made? Creating a 3D-printed prosthetic involves several key steps: Scanning and Designing: The first step is to gather precise measurements of the affected limb. This is done using: 3D scanning technology Traditional casting techniques (for reference measurements) Once the measurements are collected, a digital model of the prosthetic is designed using Computer-Aided Design (CAD) software. The design ensures the prosthetic fits comfortably and meets the user's specific needs. Material for 3D Printed Prosthetics: The material chosen for the prosthetic depends on its purpose and function. Some commonly used materials include: PLA (Polylactic Acid) – Lightweight and biodegradable, commonly used for non-weight-bearing prosthetics. ABS (Acrylonitrile Butadiene Styrene) – Durable and strong, suitable for functional prosthetics. Resins – Used for high-precision, detailed parts. Metals (Titanium, Aluminum, or Stainless Steel) – Used for stronger, more durable prosthetics. 3D Printing the Prosthetic Once the design is finalized, it is sent to a 3D printer. The printer creates the prosthetic layer by layer using additive manufacturing techniques. Depending on the complexity, printing can take anywhere from a few hours to a couple of days. Post-Processing and Assembly After printing, the prosthetic goes through post-processing steps, including: Smoothing rough edges Assembling different components (if necessary) Adding soft padding for comfort Painting or coating for durability Fitting and Adjustments The prosthetic is then fitted to the user. Adjustments may be needed to ensure a perfect fit. Occupational or physical therapists may help the individual adapt to their new prosthetic. Types of 3D-Printed Prosthetics Arm and Hand Prosthetics 3D-printed arms and hands can be customized with different grip functionalities. Some models use cables and elastic bands for movement, while advanced versions include electronic sensors for better control. Leg and Foot Prosthetics While 3D-printed leg prosthetics are not as common due to strength limitations, lightweight versions are available for below-the-knee amputees. They can be reinforced with metal for added durability. Partial Prosthetics For individuals who have lost fingers or toes, partial 3D-printed prosthetics offer improved functionality and aesthetic appeal. Prosthetics for Children Children outgrow prosthetics quickly, making 3D-printed options a cost-effective and practical solution. These prosthetics are designed to be easily replaceable and adjustable. What are the Advantages of 3D-Printed Prosthetics? Cost-Effective – A more affordable alternative to traditional prosthetics, making them accessible to a larger population. Customizable – Each prosthetic can be tailored to fit the specific needs, preferences, and anatomy of the user. Lightweight and Comfortable – Designed using lightweight materials, making them easier to wear for extended periods. Faster Production – Significantly reduces the time required to manufacture and deliver a prosthetic compared to conventional methods. Innovative Designs – Allows for creative, ergonomic, and aesthetically appealing designs that are not possible with traditional manufacturing. Scalability for Growing Children – Easily adjustable or replaceable prosthetics that can be modified